Binary Pen

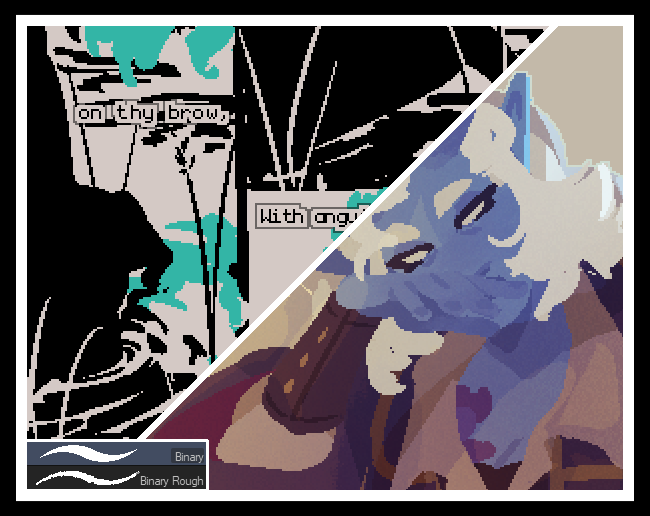
A brush with no anti-aliasing, named after Paint Tool SAI's binary pen. Also equivalent to the photoshop pencil tool. For me, I use it at 100% zoom to retain the crisp, crunchy edges. The lack of anti-aliased edges makes it very convenient for use with the magic wand and fill bucket tools—just be sure to disable anti-aliasing on those, too.
Binary Rough

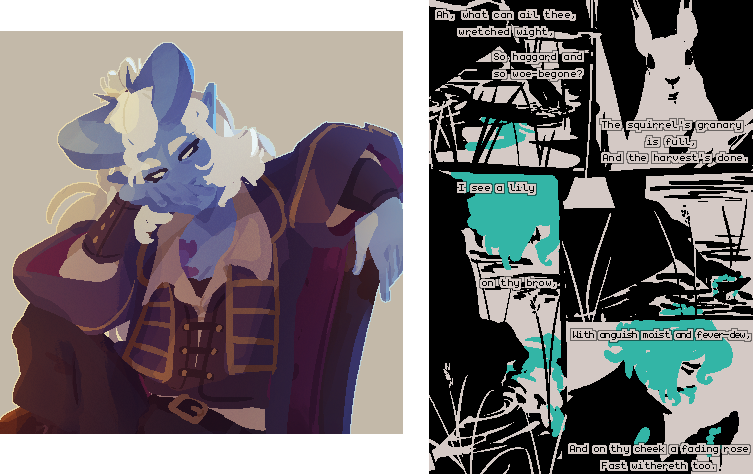
Same as the binary pen, but this time the brush tip is a rectangle that randomly rotates, creating a roughened edge. I use this primarily for background elements and as a base for foliage - it's great for creating a roughened edge. I also use it for sketching sometimes - typically thumbnails, as its roughness and lack of control means it's not suited to fine detail. So good for rough work!
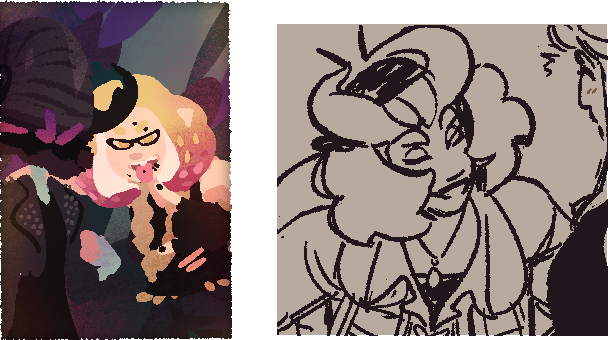
Thick Paint

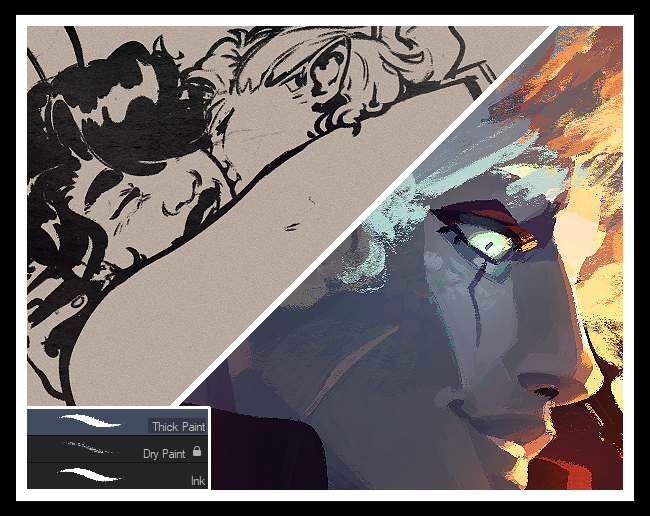
The brush I do the bulk of my painting with. By toggling Colour Mixing, I control how bold the strokes are.
Additionally, the colours are slightly randomised with each stroke, adding a little variety and natural colour to the painting. Lowering the density increases how dry and textured the brush is.
Other than painting, I also use this brush to lightly add texture to my lineless works.
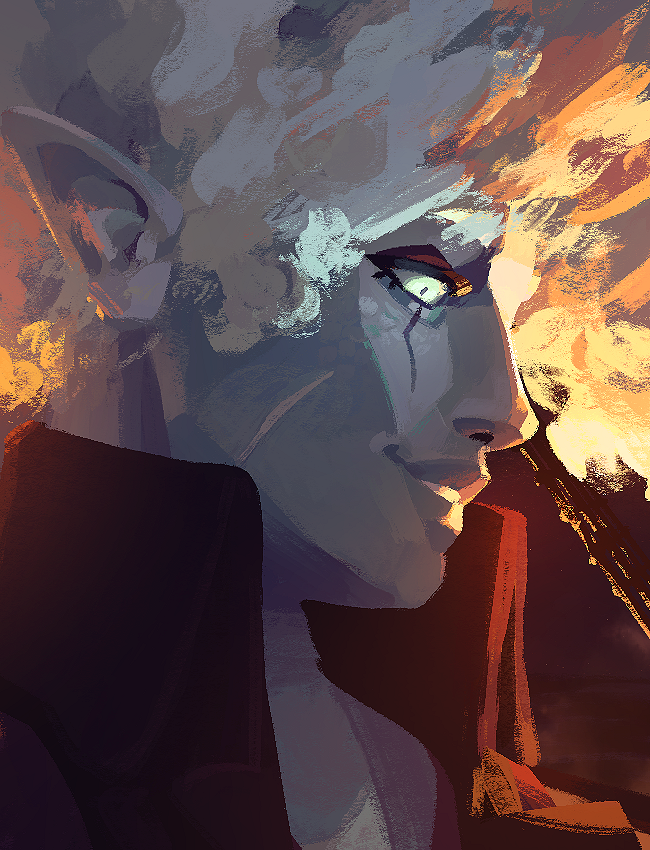
Dry Paint

This is not a brush that's intended to be used by itself, but rather a brush that's used on top of others to add additional texture.
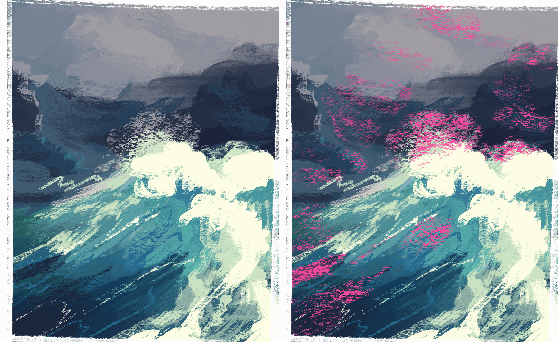
Ink Brush

I used to draw in my sketchbook using a brush pen. I don't really do this much anymore, but occasionally I want to recreate that feeling, so I made this brush. However, the ink-like appearance is created by Layer > Selection From Layer (or CTRL + Click the layer thumbnail), and then using Clouds 2 to lightly erase!
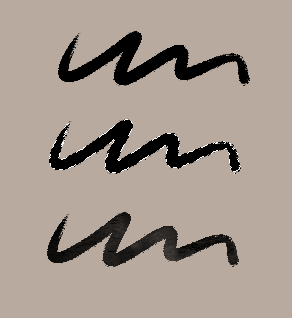
On its own, it's good for blocking in large areas of flat colour.
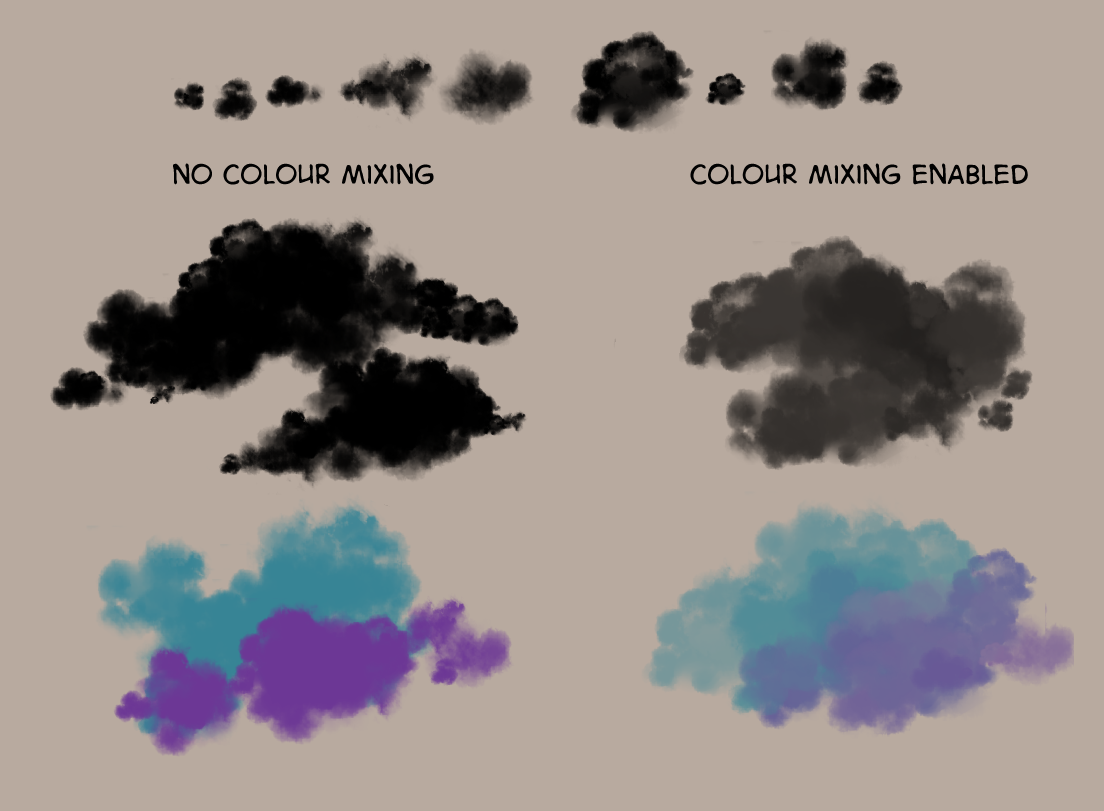
Clouds 1

* This is not my brush. You can get it for free from the asset store here. By turning colour mixing on and off, you can change the feeling.
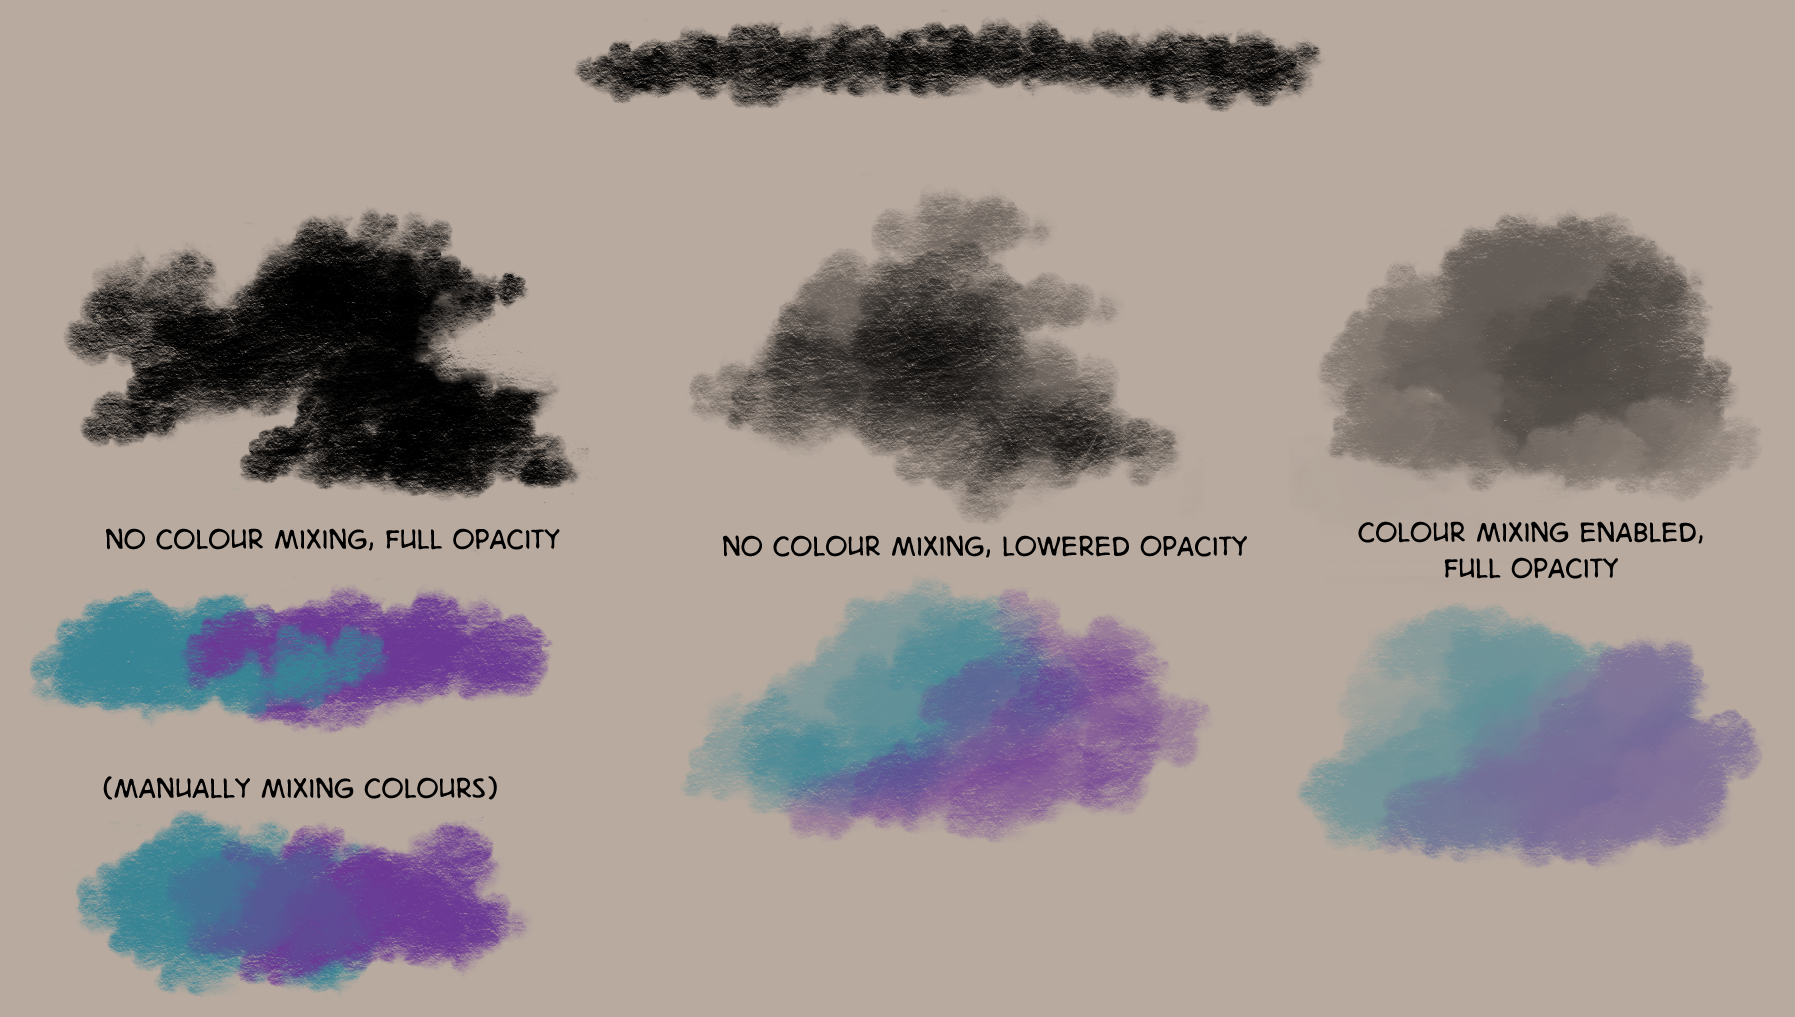
Clouds 2

* This is modified from a free brush from the asset store, which you can get here here. By adjusting the opacity and enabling/disabling colour mixing, you can create different effects.
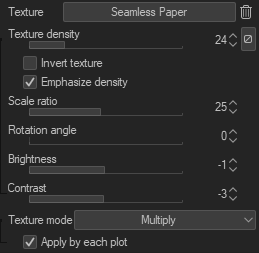
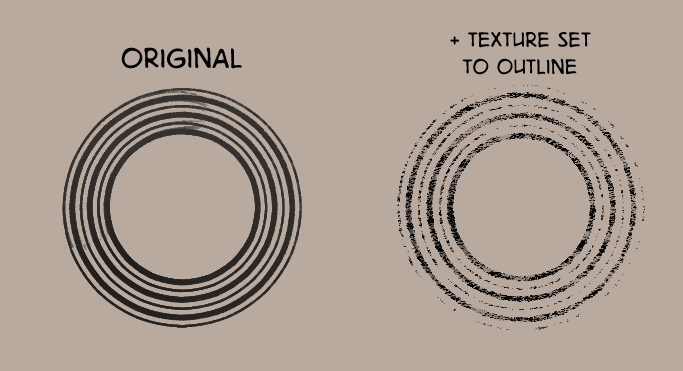
The brush is created by applying the Seamless Paper texture that comes with my brush set, with the following settings:

Fur Blend

* This is not my brush. You can get it for free from the asset store here as part of a different set. I like to apply the same texture as is used in my brush set to integrate it with my brushes.
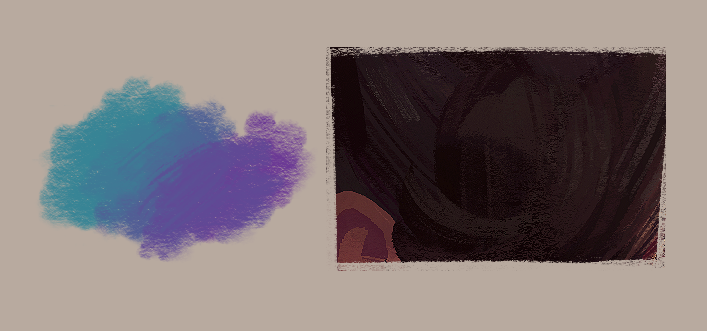
I use it to create the feeling of a rough bristle brush, especially for hair.
Flat

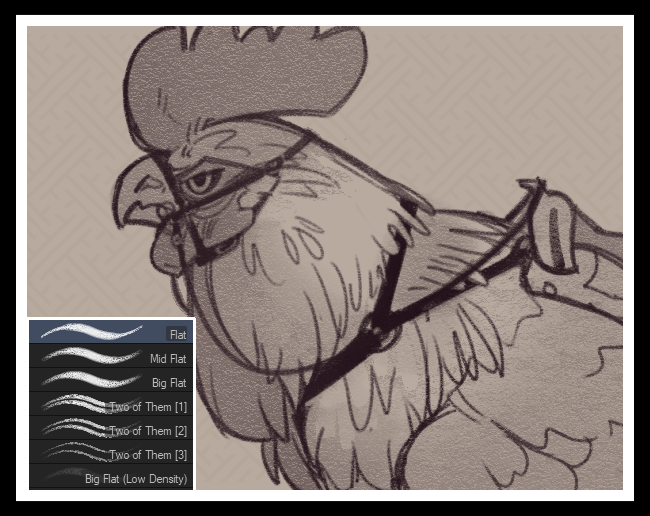
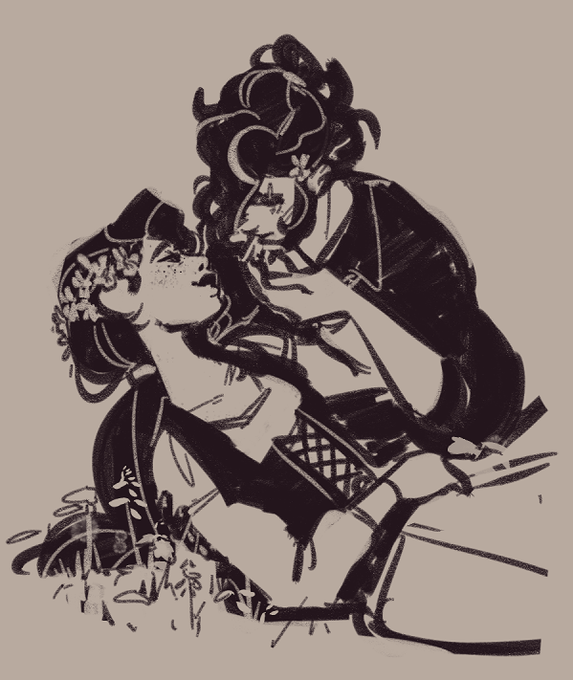
A brush for drawing with—it has a low minimum size, so it has a lot of line width variation and is very responsive to pen pressure. Personally, I use it for looser drawings & thumbnailing.
Mid Flat

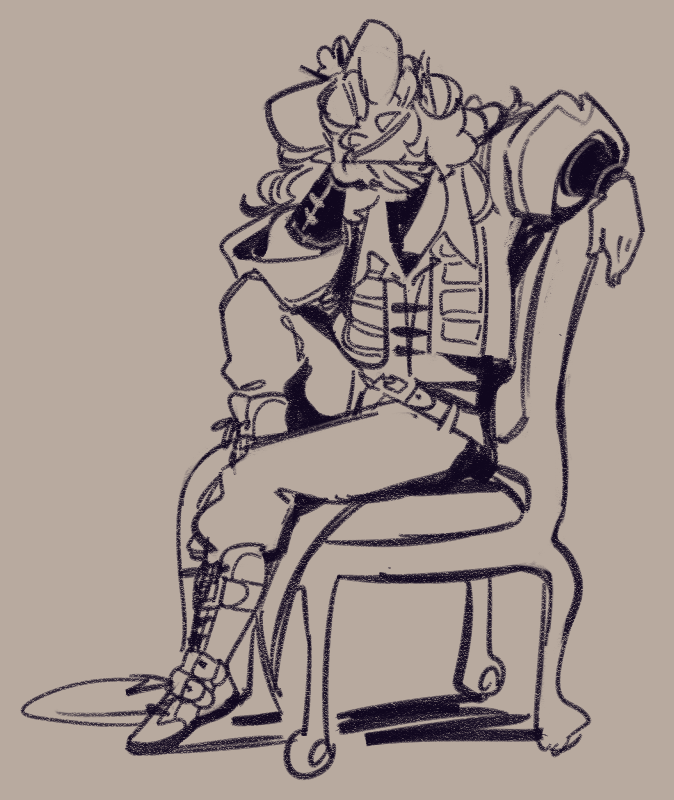
A variant of the flat brush that I use a little more often. It has a high minimum size, which means it has little variation in width—I find this lends it to slightly cleaner, more refined drawings.
Big Flat

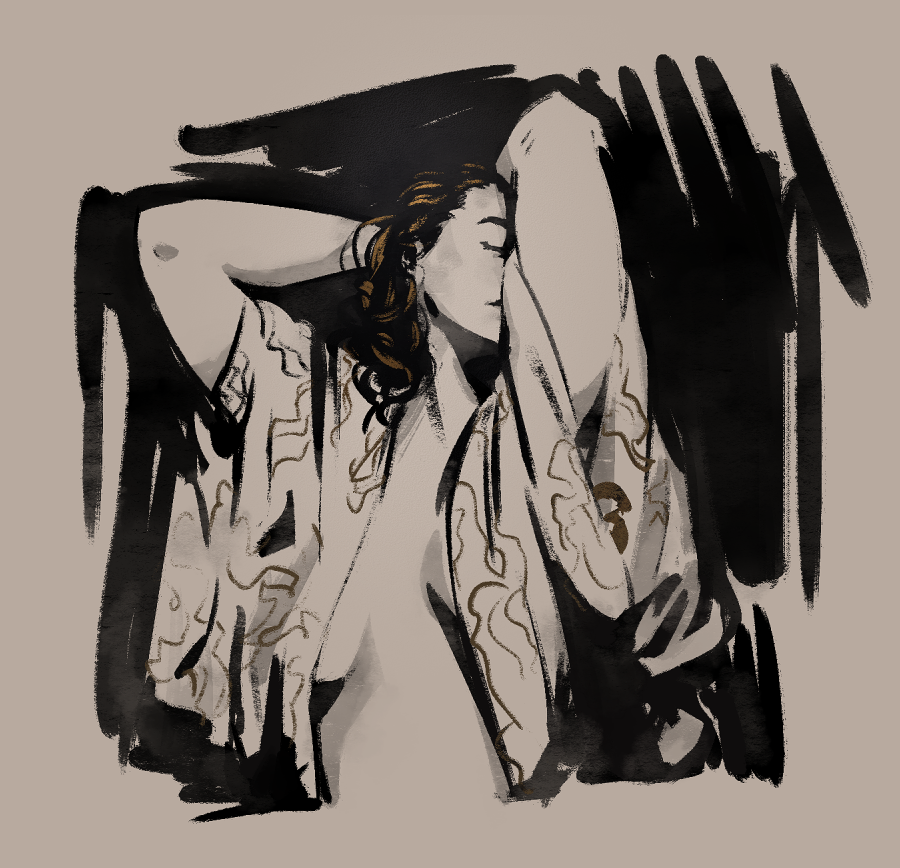
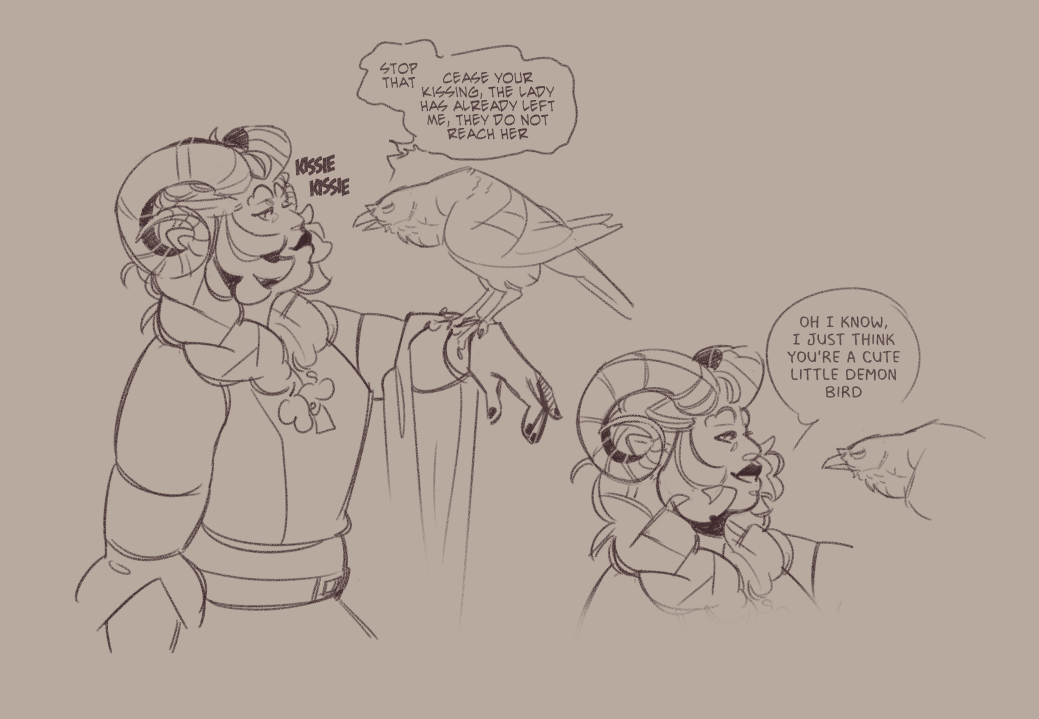
This is not actually a brush intended for drawing with, I made it to make filling in large areas faster as I will often black out solid shadows & dark areas (e.g., Callisto's arm tattoos)—but if you make the brush size smaller so you can draw with it, the sample shows the kind of line quality you will get.
Two of Them

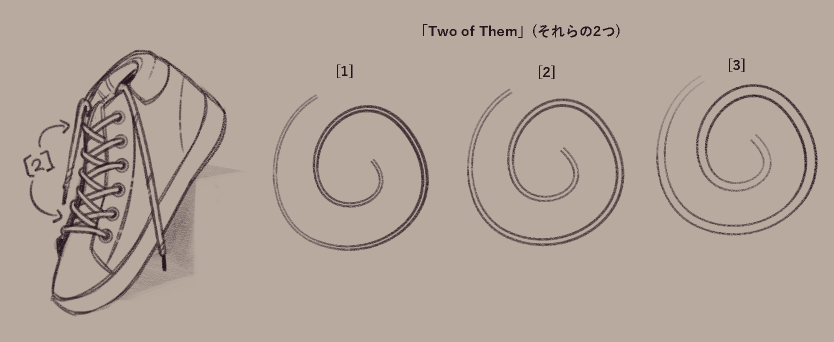
I personally like the loose feeling of drawing the same line twice, and I do this manually. But, sometimes, it's useful to have a brush that draws two lines with a fixed width apart—for example, it's especially useful for drawing laces.
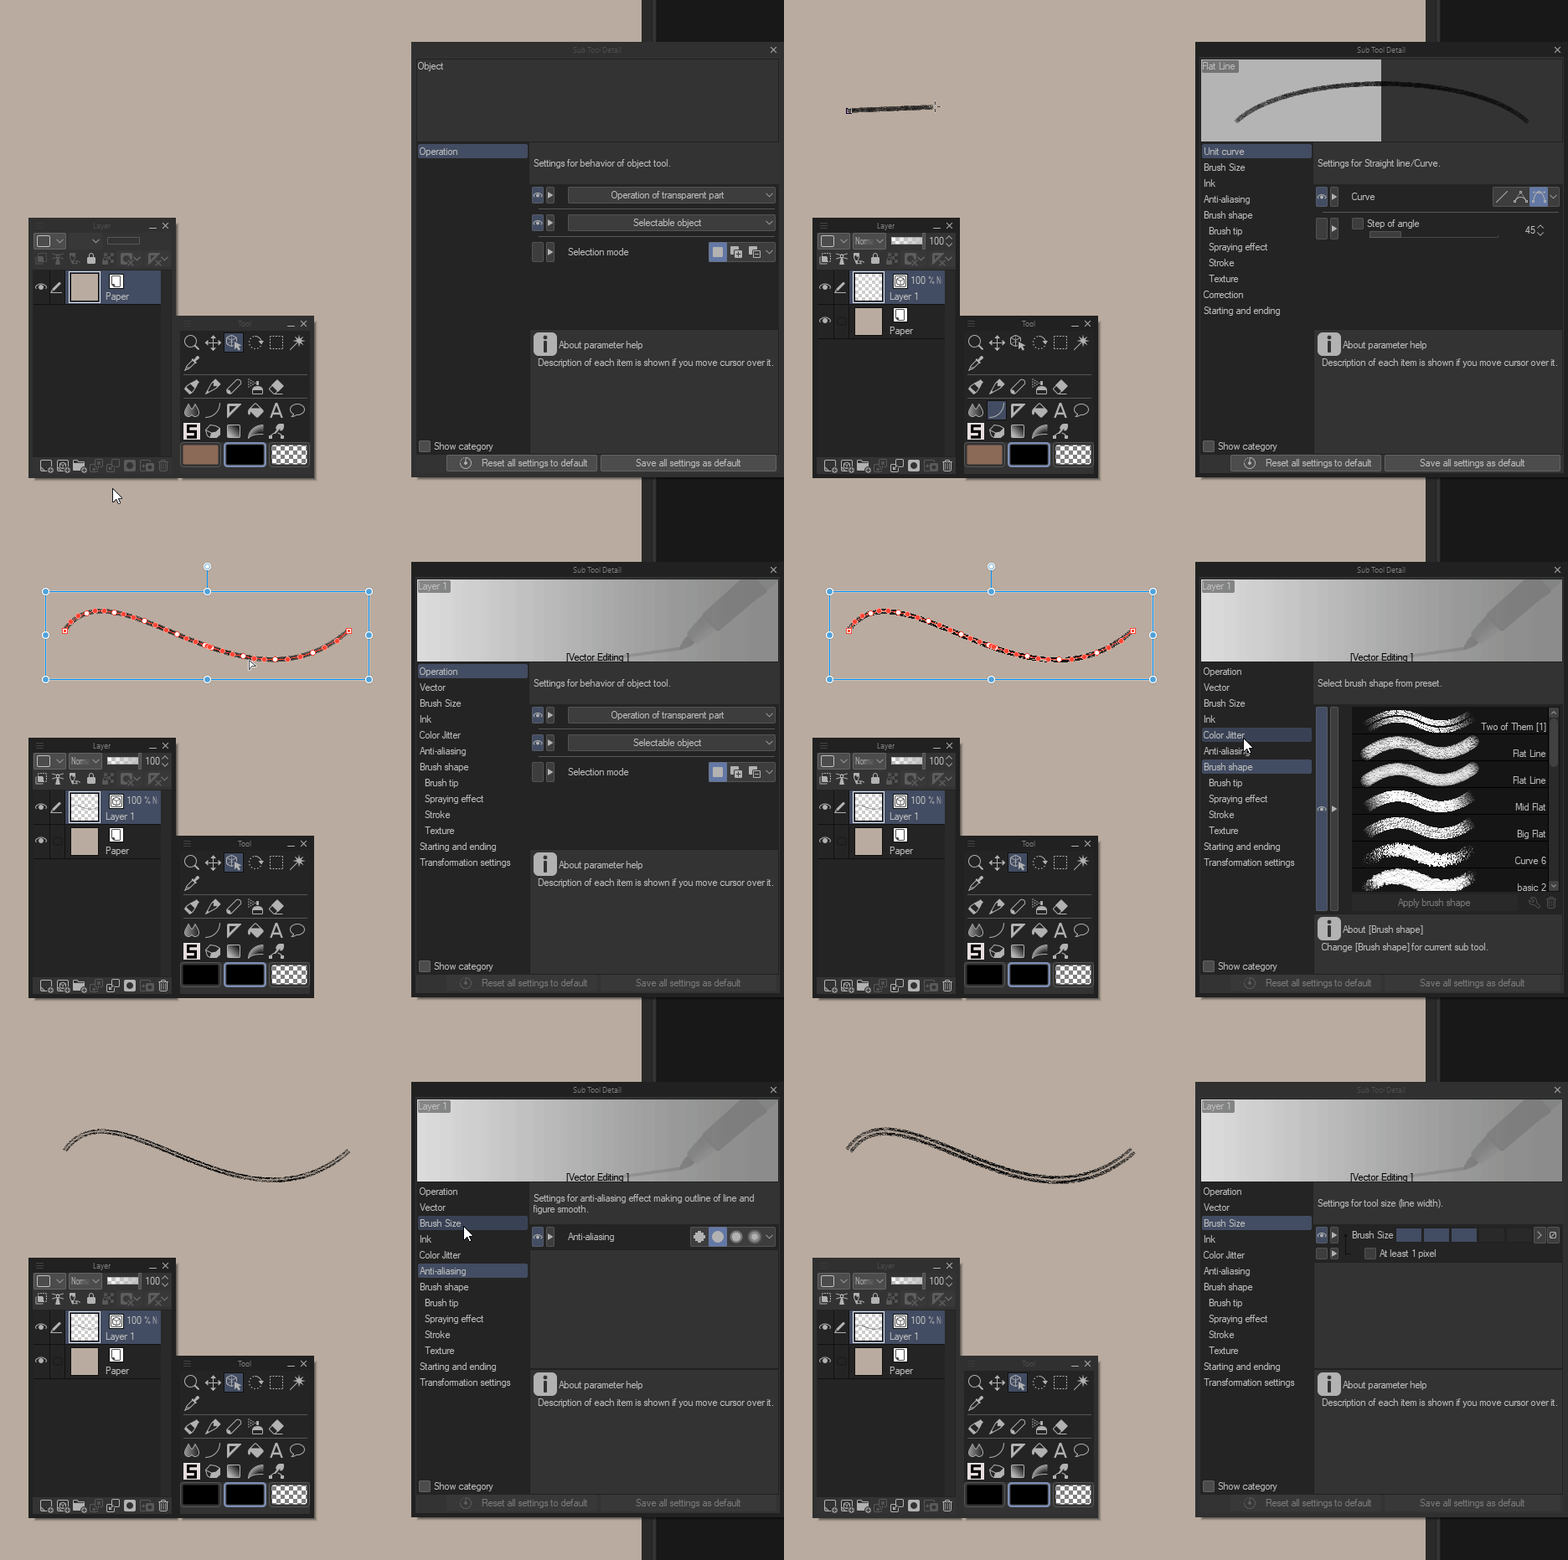
It can also be applied to vector lines as a brush shape.
Low Density

This brush is not used for drawing with, but used for toning my sketches.
Texture

No sample image for this one, it is simply an airbrush with the same texture as all the other tools in this set. I use it to apply a light texture to images, or to create tones like with Low Density.
